First we have to thank one of our readers, Imre of Netherlands, for alerting us to this origami. Imre had written to us saying he saw this origami online but couldn't fold it and wanted us to make instructions for it.
It has taken us a while to get around to it but this is a brilliant origami design by Valerie Vann. It transforms from a cube to rose within seconds! It is really a cool design. We love it and we're sure you're going to as well!
Thanks, Imre, for writing to us and we hope you find these instructions helpful!
Made this origami? Comment and Submit your photo using the comment box at the end of this page!
Origami Magic Rose Cube Step 1: We'll start off by making the units for the "petals". We'll need 3 units of these. These will form the rose so you should use a color you want for your flower.
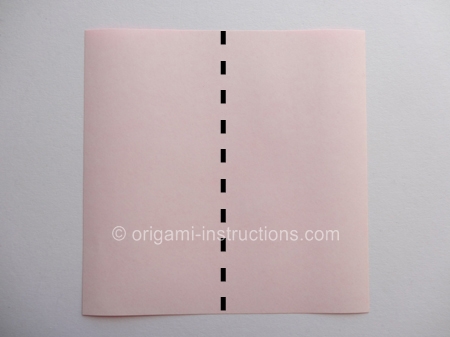
Start with a 6 inch x 6 inch (15cm x 15cm) square origami paper color side down.
Fold paper in half on the vertical axis. Crease well and unfold.

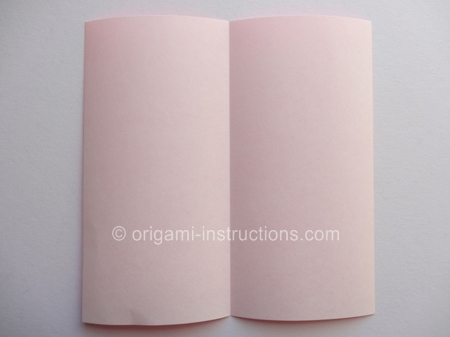
Origami Magic Rose Cube Step 2: Fold both sides to meet in the center. Crease well and unfold.
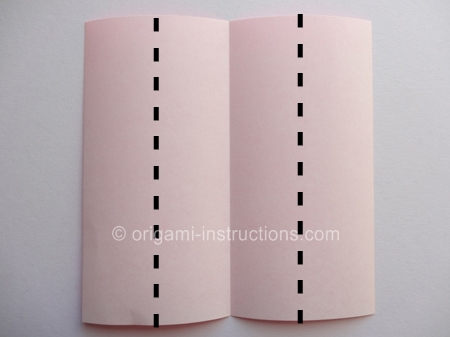
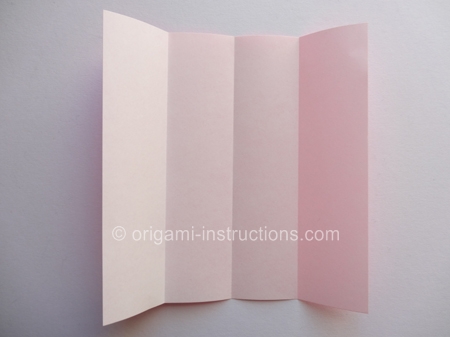
Origami Magic Rose Cube Step 3: Fold AB to meet AC. Crease well and unfold.
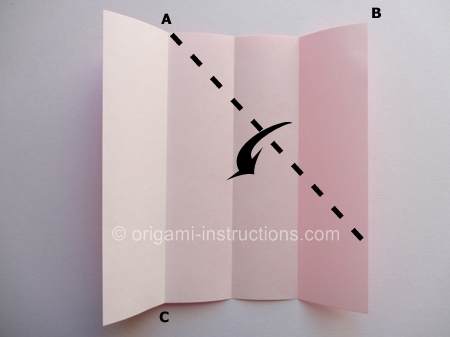
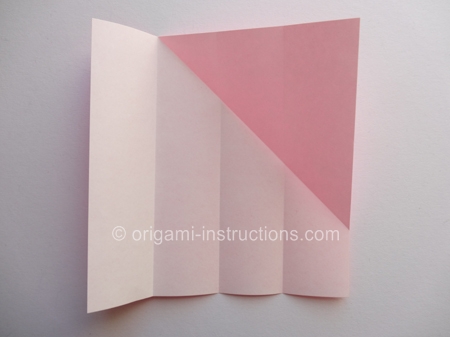
Origami Magic Rose Cube Step 4: Now fold DE to meet DF. Crease well.
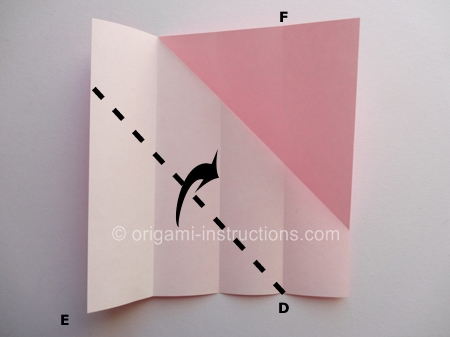
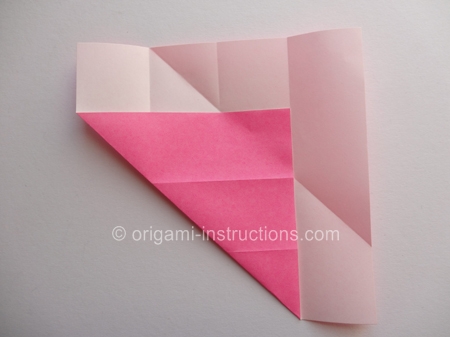
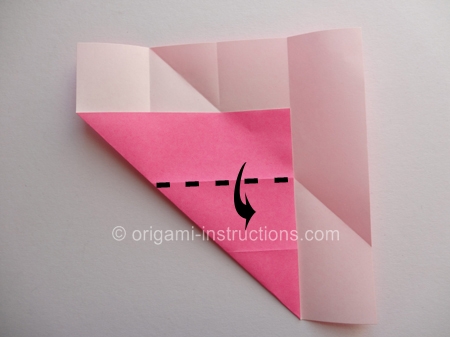
Origami Magic Rose Cube Step 5: This is an interesting step that we'll repeat several times.
Make a horizontal fold on the top layer as shown.
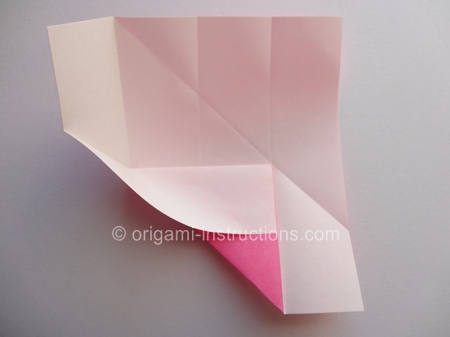
Origami Magic Rose Cube Step 6: Now fold the left side back to the right.
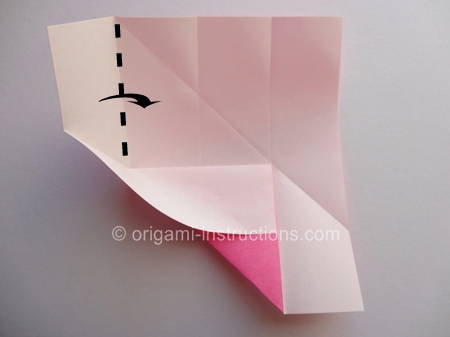
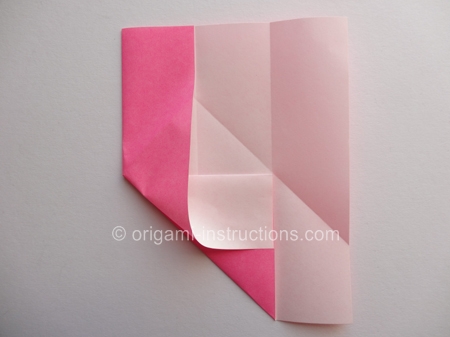
Then press paper flat so that the diagonal edges line up on the left.
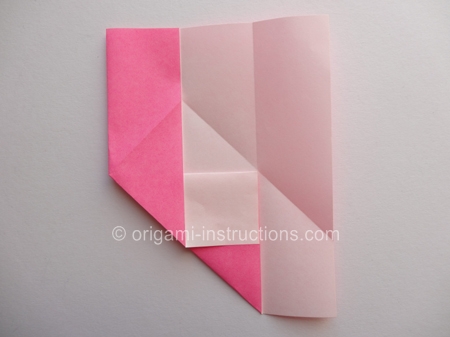
Origami Magic Rose Cube Step 7: Rotate paper.
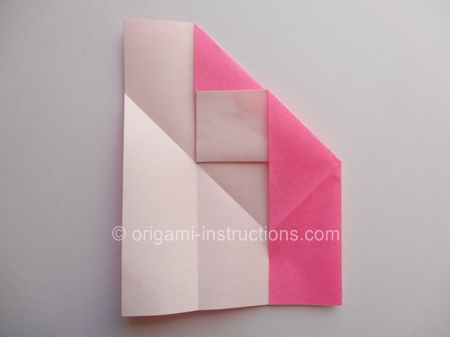
Origami Magic Rose Cube Step 8: Now we're going to repeat Steps 5 and 6.
First pry open the top layer on the right. Then make the diagonal fold as shown.
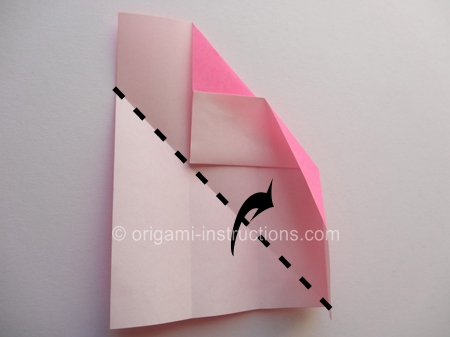
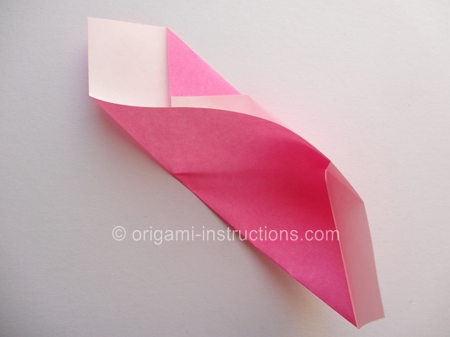
Origami Magic Rose Cube Step 9: Now make the horizontal fold as shown below, folding down the top layer only.
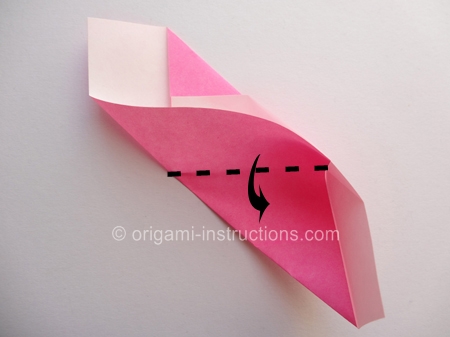
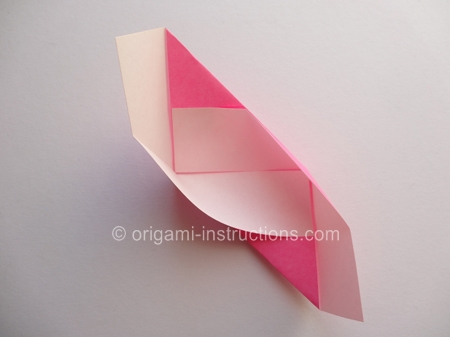
Origami Magic Rose Cube Step 10: Now bring the left side over to the right to close the paper.
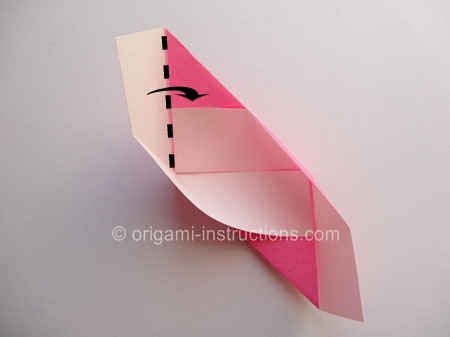
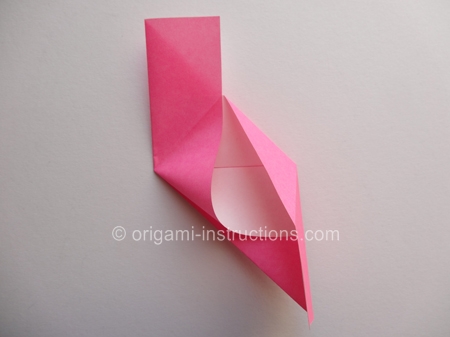
Press paper flat so the the diagonal edges line up on the left.
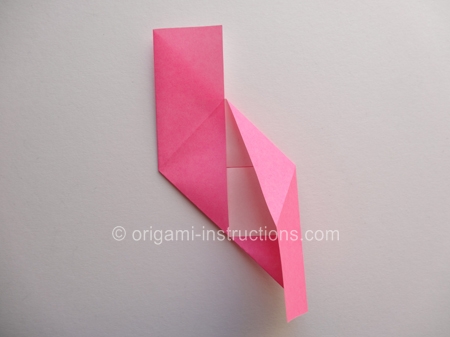
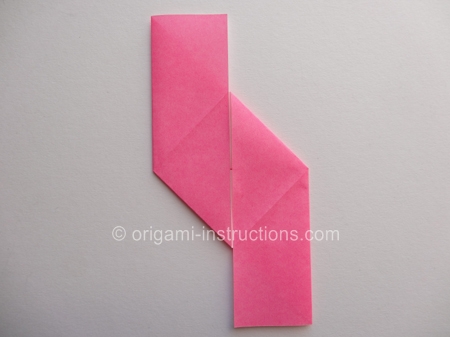
Origami Magic Rose Cube Step 11: Flip paper over. Make the 2 diagonal folds as shown. Crease well.
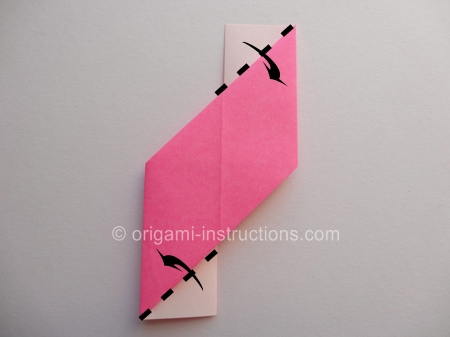
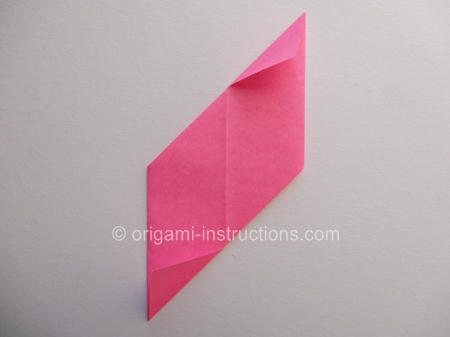
Origami Magic Rose Cube Step 12: Now make 2 more diagonal folds. Crease well.
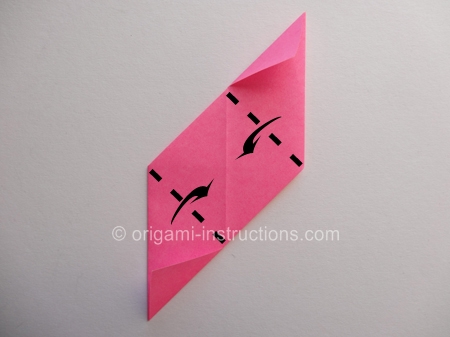
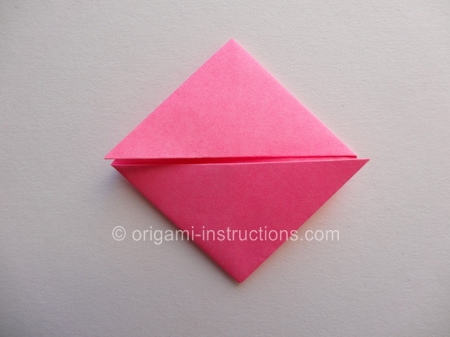
Origami Magic Rose Cube Step 13: Unfold paper to Step 10.
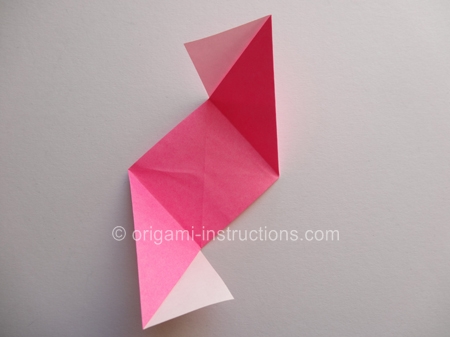
Origami Magic Rose Cube Step 14: Flip paper over and your petals unit is complete. Repeat Steps 1 to 13 and make a total of 3 units.
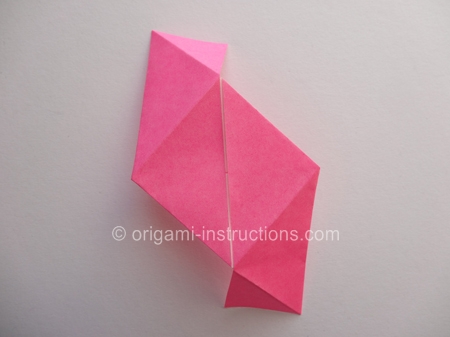
Origami Magic Rose Cube Step 15: We'll now move on to the leaves. We'll be using green paper for these units.
Follow Steps 1 to 6 for the petals as shown above. You should have the following to start with.
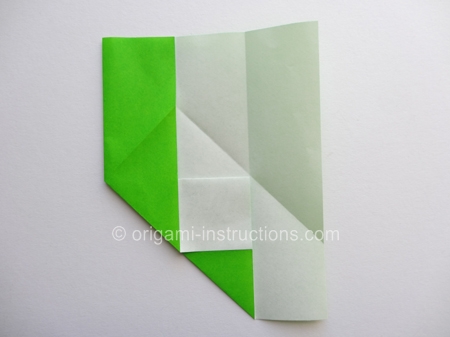
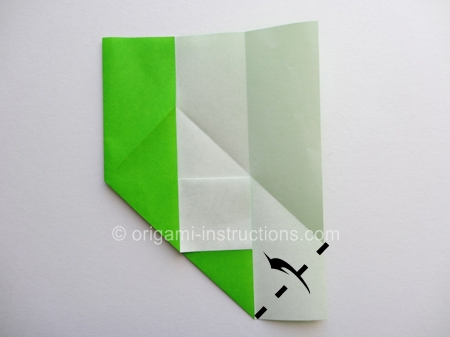
Origami Magic Rose Cube Step 16: Make the small diagonal fold on the bottom right as shown.
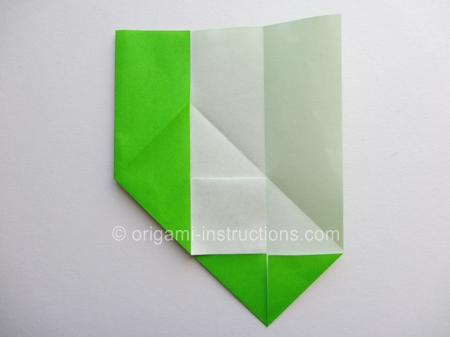
Origami Magic Rose Cube Step 17: Fold up the bottom tip.
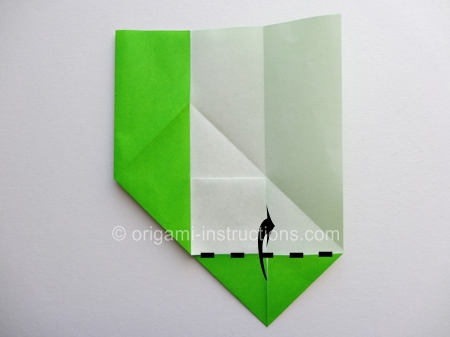
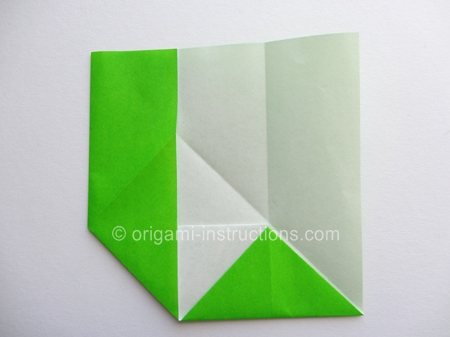
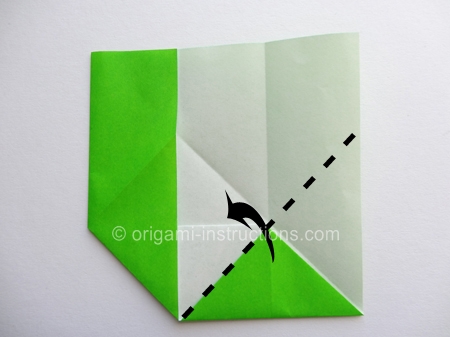
Origami Magic Rose Cube Step 18: Make the diagonal fold. Crease well and unfold.
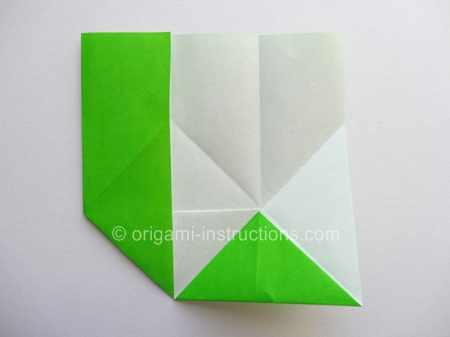
Origami Magic Rose Cube Step 19: Rotate paper.
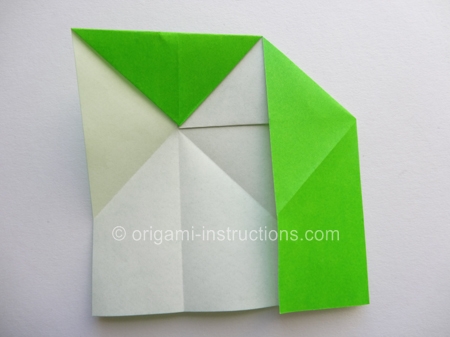
Origami Magic Rose Cube Step 20: You should be familiar with the next few steps as they're the same as Step 8 to 10 for the petals.
Pry open the top layer on the right side. Then make the diagonal fold as shown.
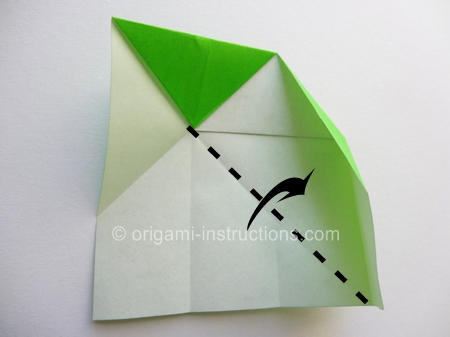
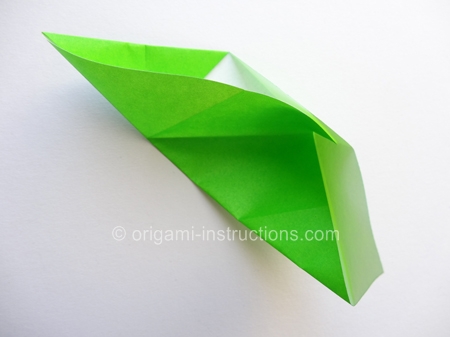
Origami Magic Rose Cube Step 21: Make the horizontal fold.
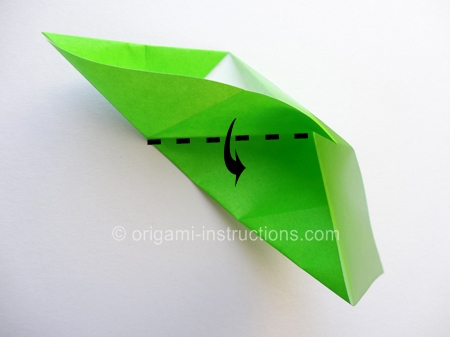
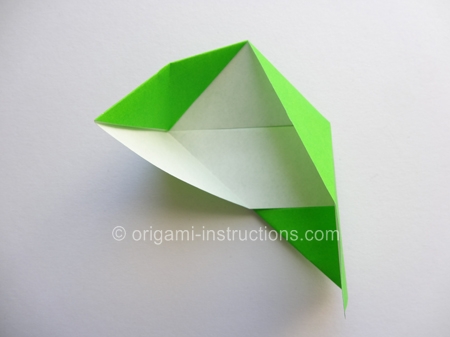
Origami Magic Rose Cube Step 22: Now we're going to bring the left side over to the right to close the paper.
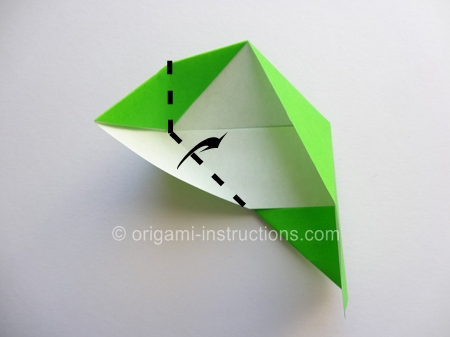
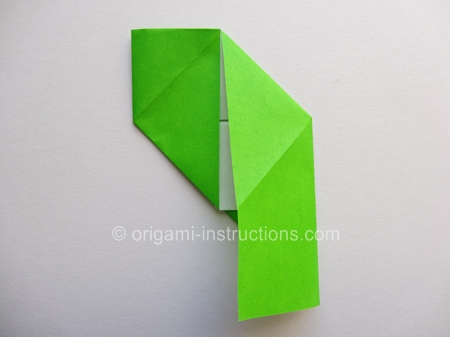
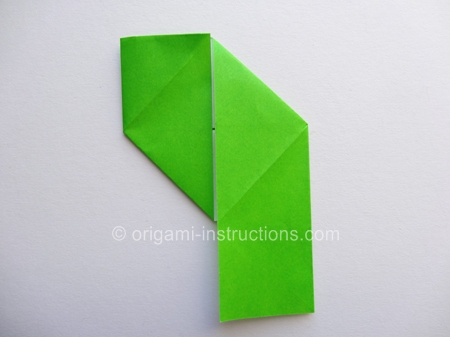
Origami Magic Rose Cube Step 23: Flip paper over. Make the small diagonal fold on the bottom right.
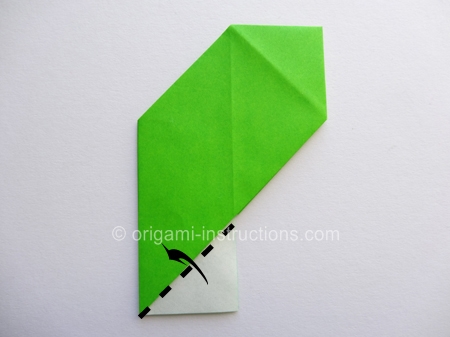
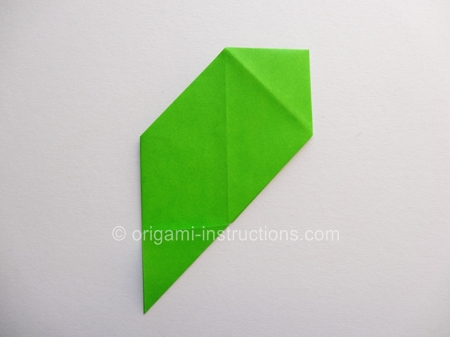
Origami Magic Rose Cube Step 24: One more diagonal fold. Crease well and unfold.
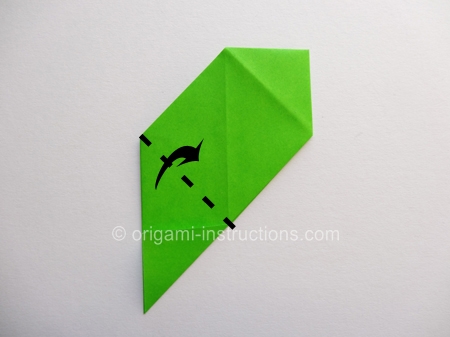
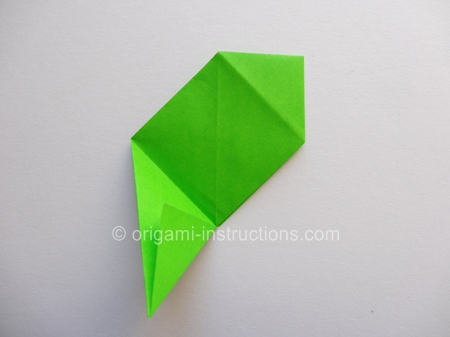
Origami Magic Rose Cube Step 25: Unfold to Step 23.
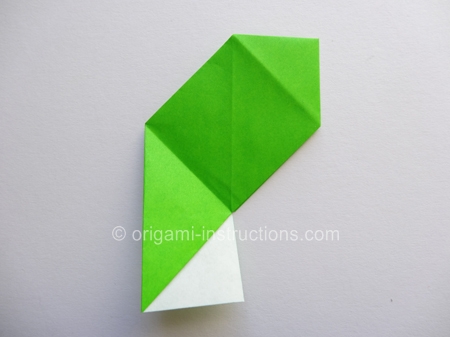
Origami Magic Rose Cube Step 26: Flip paper over and your leaves unit is complete.
Repeat Steps 15 to 26 and make a total of 3 units.
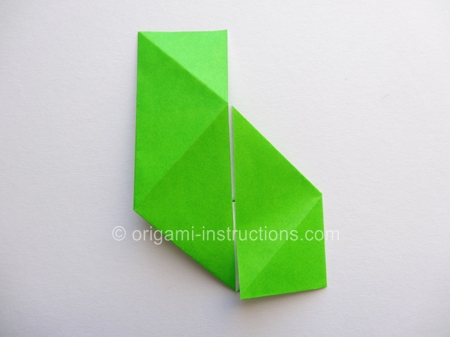
Origami Magic Rose Cube Step 27: Watch the video for the assembly process.
Your origami cube will go from this.
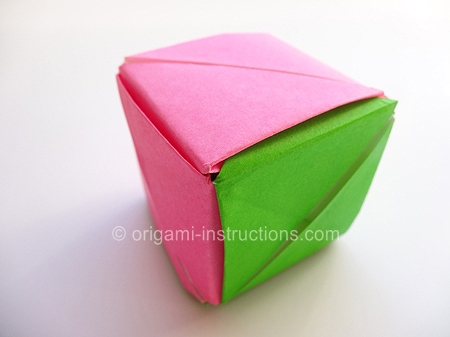
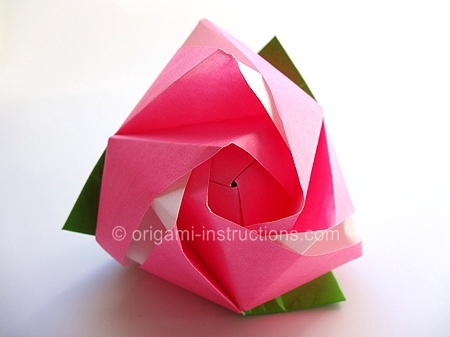
. to this like magic!!
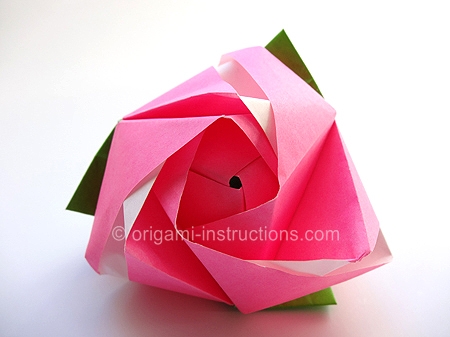
Did you make this origami? If so, upload your photo (2MB limit) via the comment box below. You can login with your Facebook, Twitter, Google or Yahoo accounts.